Find the race event you want to watch by choosing "Watch" along the top menu and then click on the correct race and day (if you want to purchase the "All-Access Pass", you can choose any race. If you want to purchase a "Weekend Pass", select either Saturday or Sunday of that race weekend and move to the next step.)
Step 2:
Click or tap on the race event banner or click on the blue "Buy" button. This will bring up the log-in pop-up window where you can move on to the next step. NOTE (especially for phone users): If you do not see that blue "BUY" button, you can just tap or click in the middle of the race event banner image and it should pop-up with a Log-in window, so you can then proceed to the next step.
Step 3:
You will then see this login pop-up:
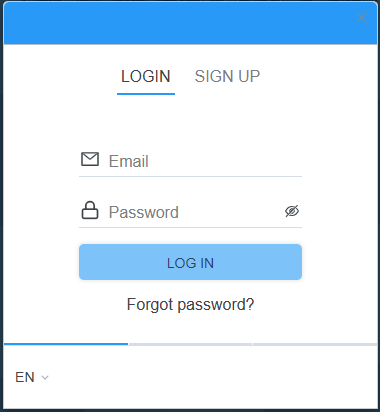
If you have not signed-up with MIRA Race Network, you will need to click "Sign-up" in the upper-right of this window. (if you have already signed-up with us, use your e-mail address and password to login and move to Step 5)
Step 4:
Sign-up using your e-mail address, name and a password that you want to use to access this content (you will need to type in email and password twice to verify there was no typo)
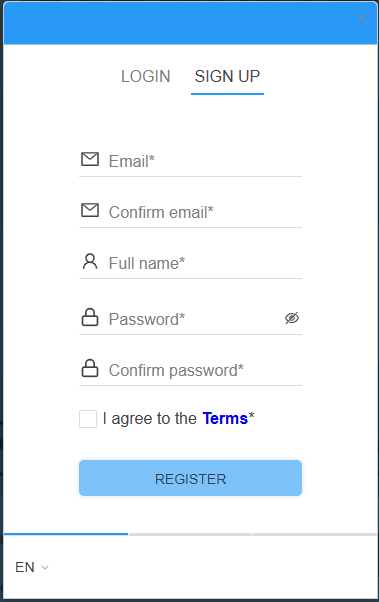
You will then click the checkbox to agree to the Terms (read them if you choose) and then click "REGISTER"
Step 5:
Next you will see the purchase price options. You can purchase the single race you initially selected, the "Weekend Pass" for that race's weekend or the "All-Access Pass" for accessing every race.
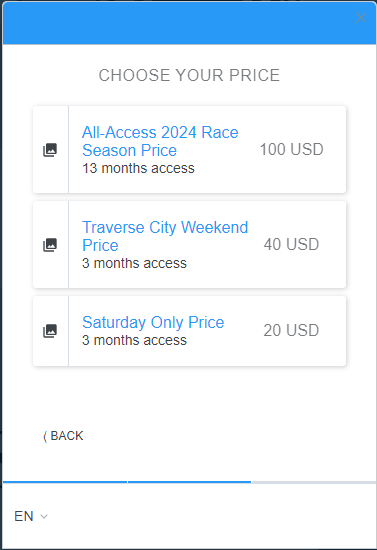
Once you select the option you want to buy, click "NEXT" (the "NEXT" button will show up once you click one of these buy options)
Step 6:
Now it is time to pay. Current payment options are major credit and debit cards. If you have a Promo code/Voucher code, you can use that at this time using the "Add voucher" button.

With the correct payment information added, click "PAY"
With a successful payment, you will now have access to the purchased content. When logged into our platform, you can view your account info and settings in the bottom-right by clicking this "Account" button:

 989-455-1123
 miraracenetwork@gmail.com